Events
Schedule and manage live sessions, workshops, and virtual events.
While on-demand courses are great for self-paced learning, many organizations still rely on live, synchronous training. The Events feature in TechClass allows you to schedule, promote, and manage attendance for webinars, virtual Q&A sessions, and in-person workshops.
To access the Events dashboard, navigate to People > Events in the Admin Portal sidebar.
1. Viewing Your Events
The Events dashboard provides three distinct ways to view your organization's schedule, accessible via the tabs at the top of the page.
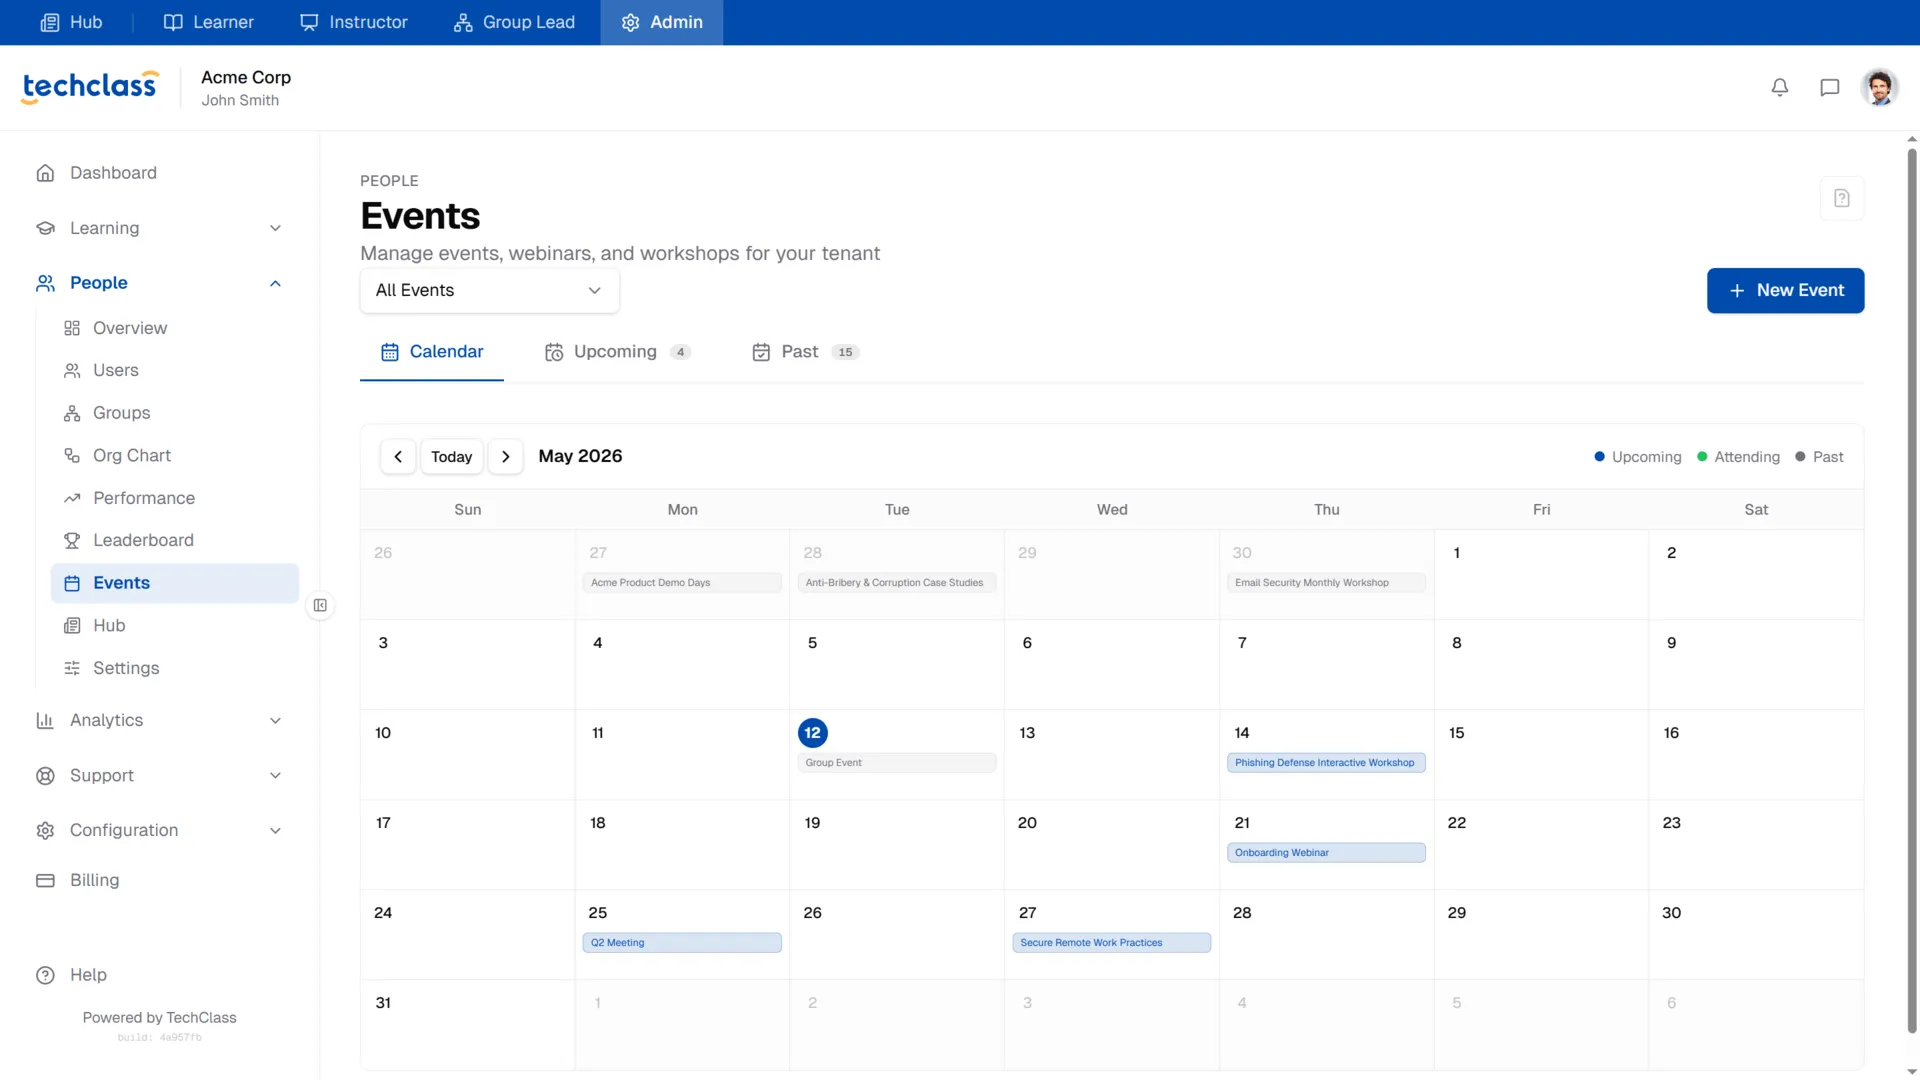
The Calendar View
The default Calendar tab gives you a monthly overview of all scheduled events. Days with scheduled activities are highlighted, allowing you to quickly spot busy training weeks or potential scheduling conflicts.
Upcoming & Past Views
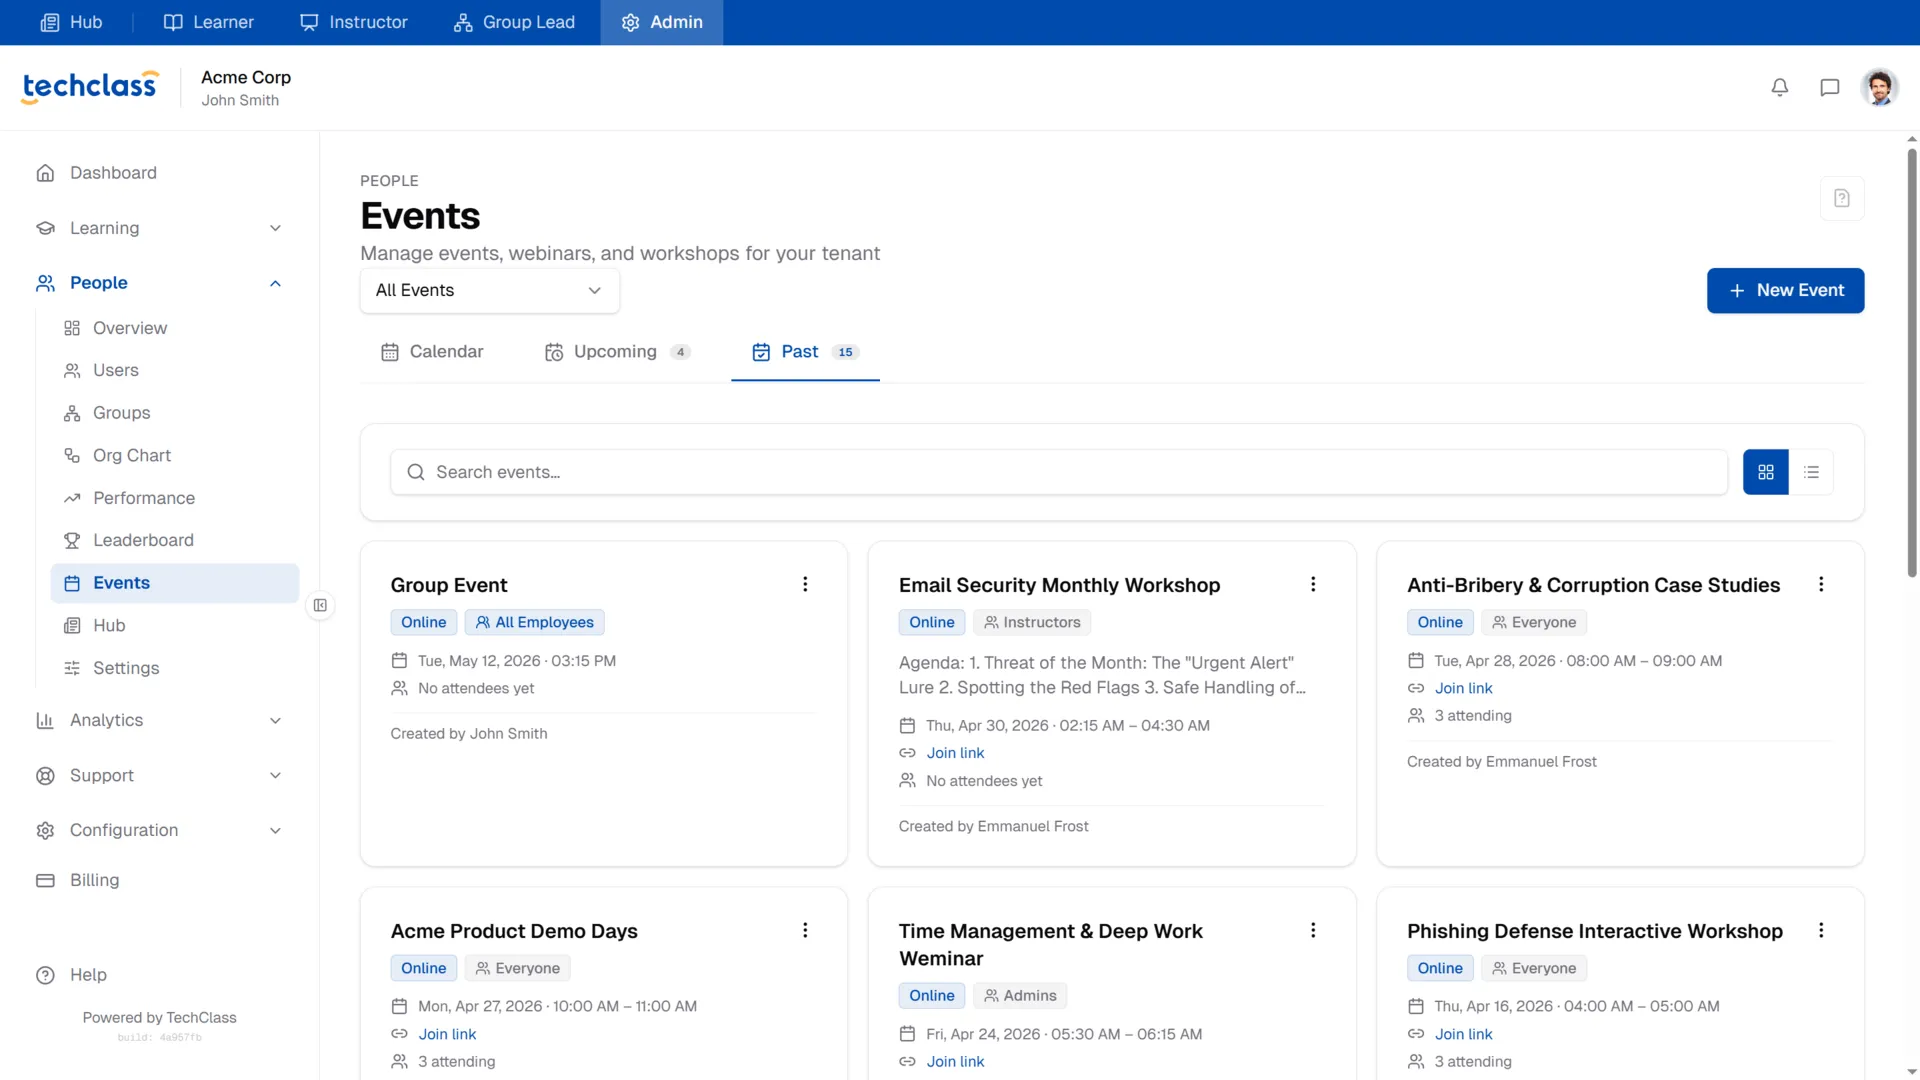
If you prefer a list format, you can switch to the Upcoming or Past tabs. These views display your events as detailed cards, showing the event type, date, time, join link, and current attendee count.
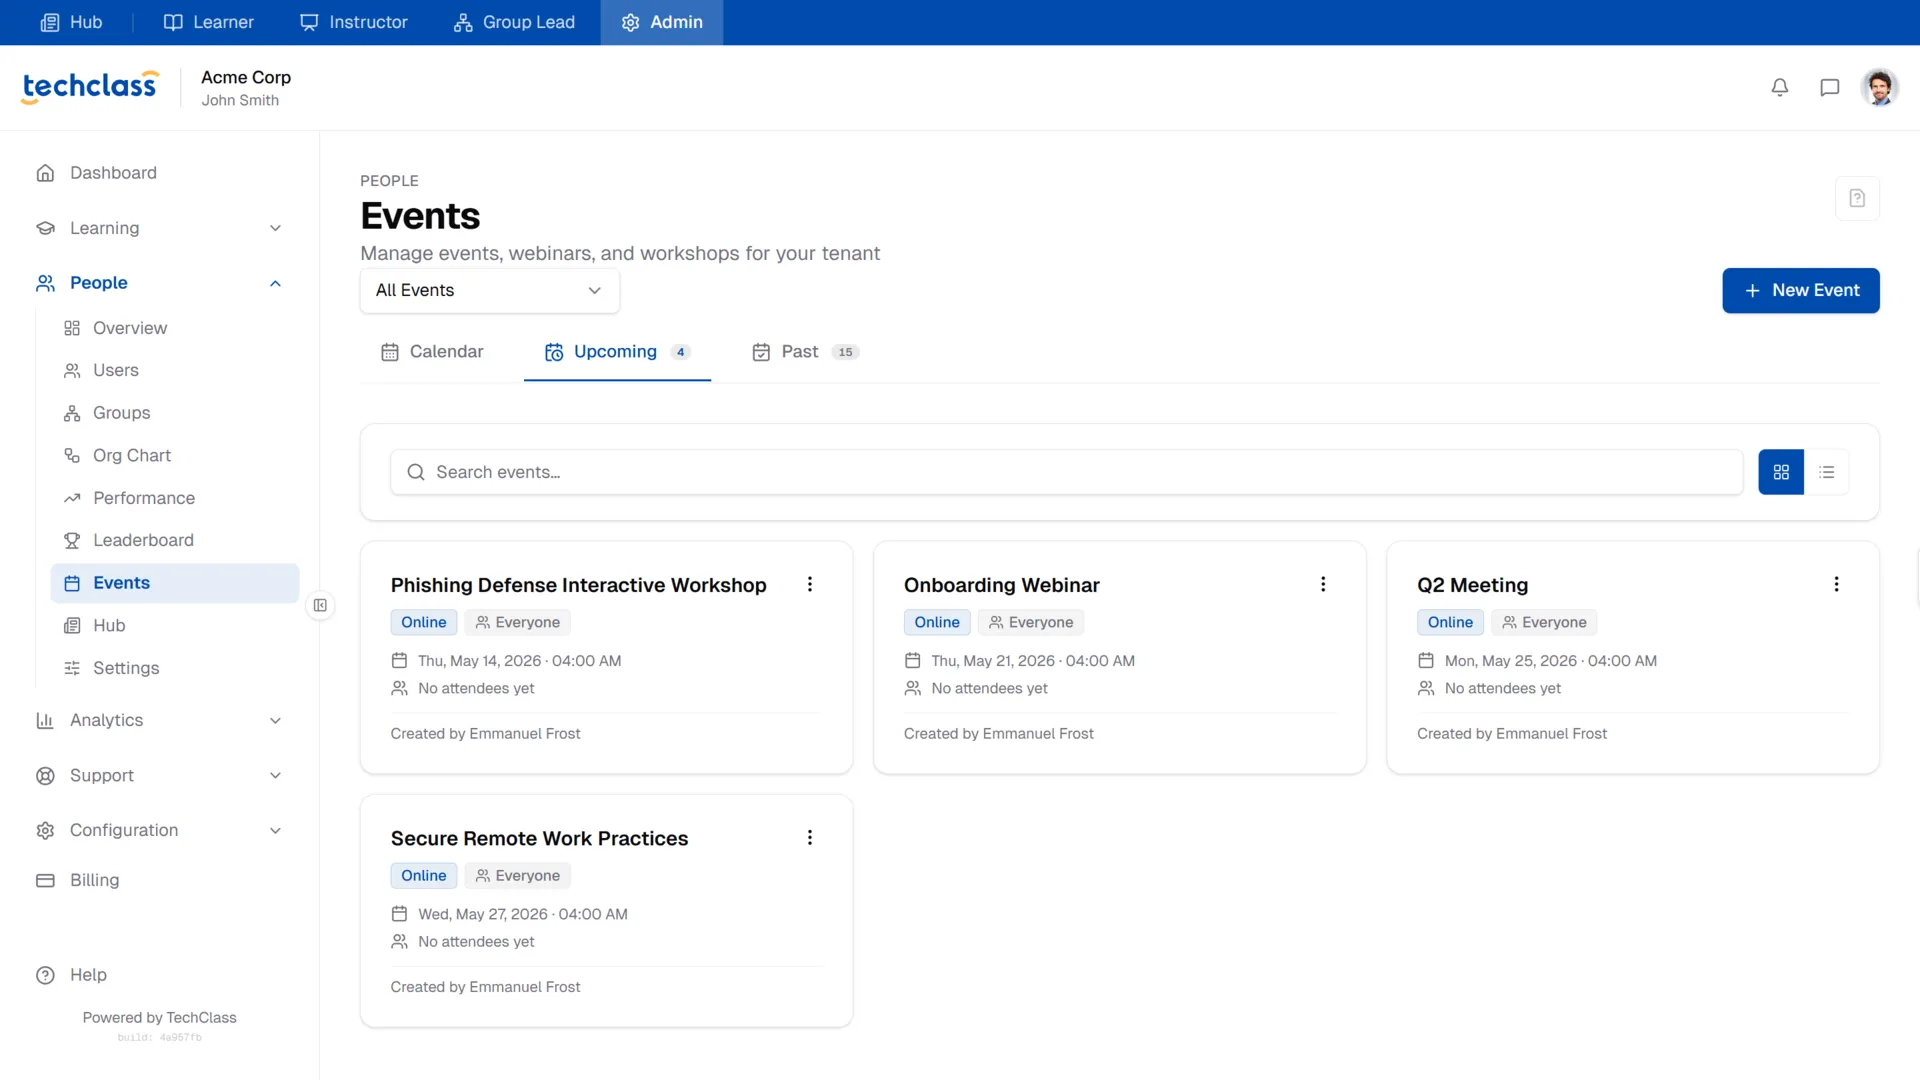
You can use the search bar at the top of the list views to quickly find a specific event by name. The Past tab is especially useful for auditing historical training sessions or reviewing past attendance records.
2. Creating a New Event
To schedule a new live session, click the blue + New Event button in the top right corner of the page.
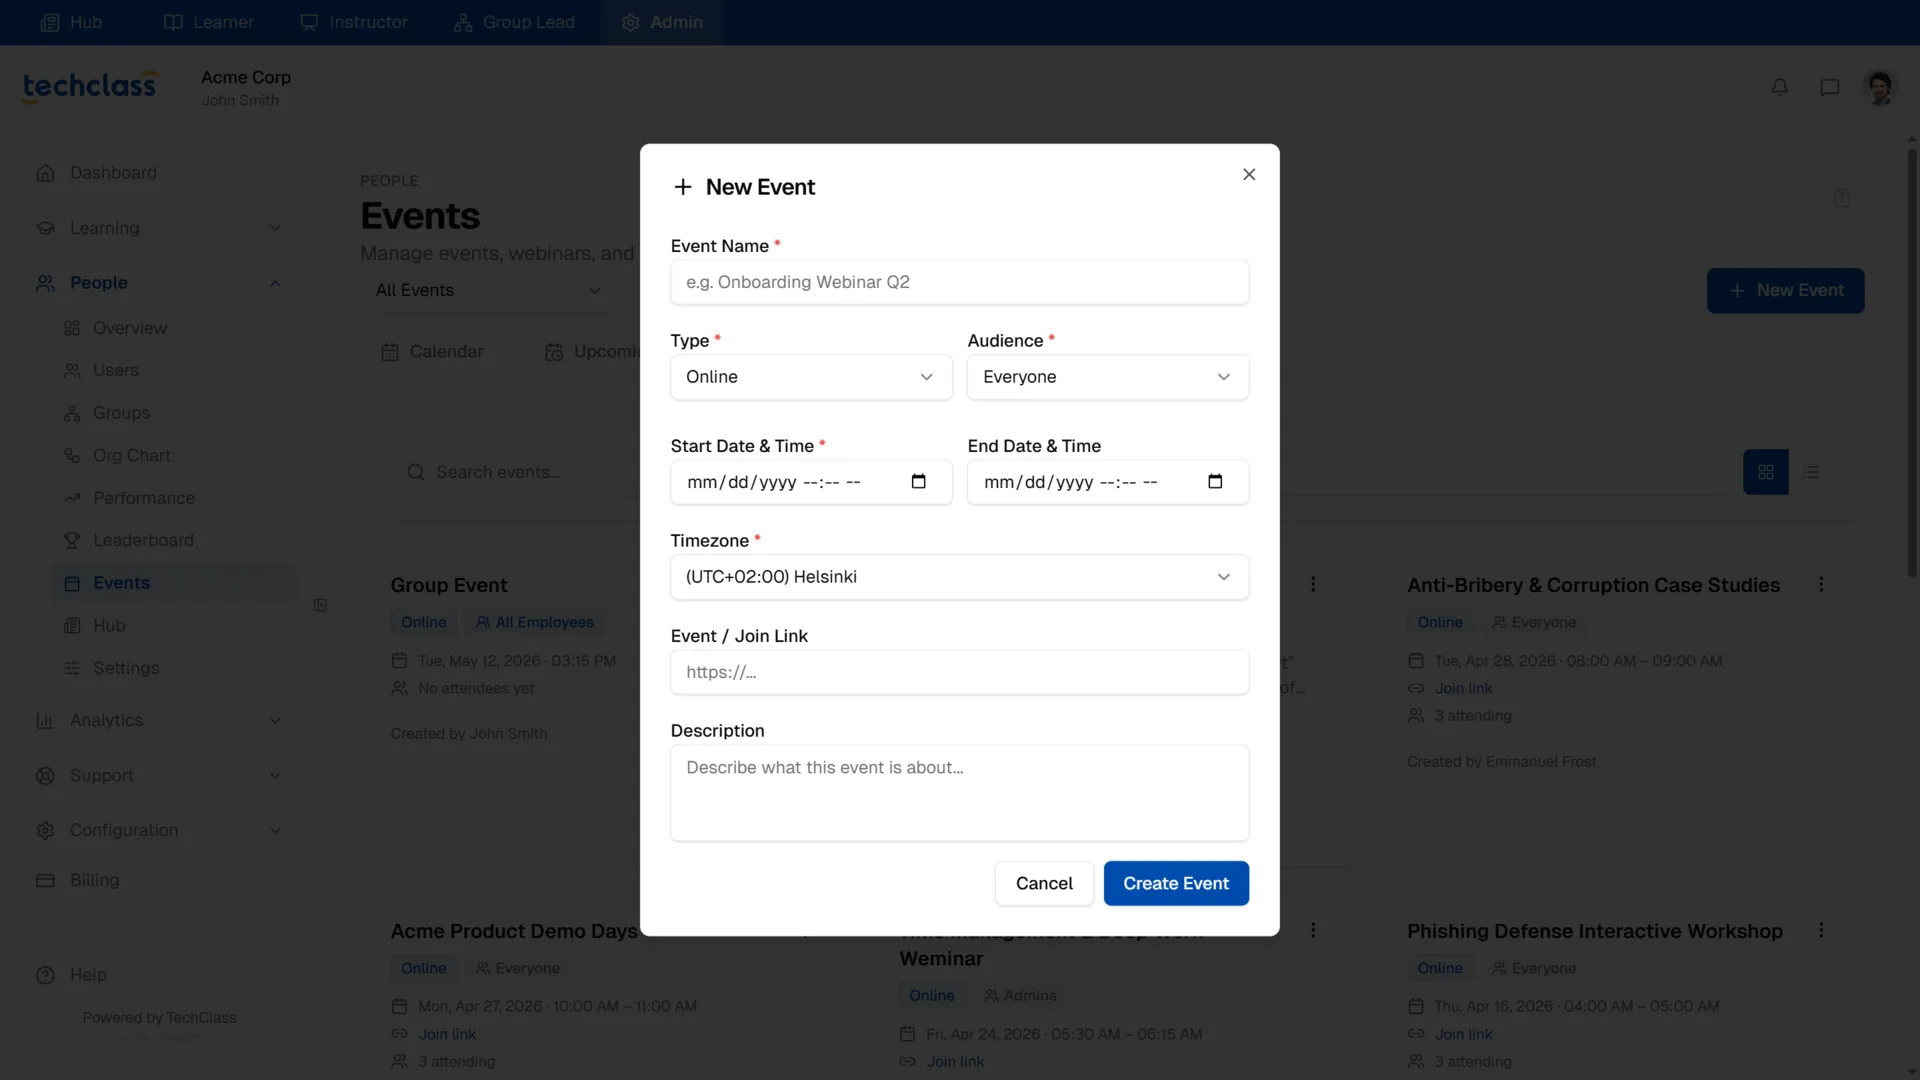
Fill out the following details in the creation modal:
- Event Name: A clear, descriptive title (e.g., "Q2 Cybersecurity Webinar").
- Type: Specify the format of the event: Online, In Person, or Hybrid.
- Audience: Determine who is allowed to see and join this event (e.g., Everyone, Admins, or specific Groups).
- Start & End Date/Time: Set the exact duration of the session.
- Timezone: Select the timezone for the event. Note: TechClass will automatically convert this time to the learner's local timezone on their personal dashboard.
- Event / Join Link: If it's an online event, paste the meeting URL here (e.g., Google Meet, Zoom, Teams). If it's in person, you can type the physical address or room number.
- Description: Add an agenda, prerequisites, or context about what the event will cover.
Click Create Event to publish it to the relevant learners' calendars.
3. Managing Event Attendees
Once an event is published, learners can begin registering. To view who has RSVP'd to a specific session:
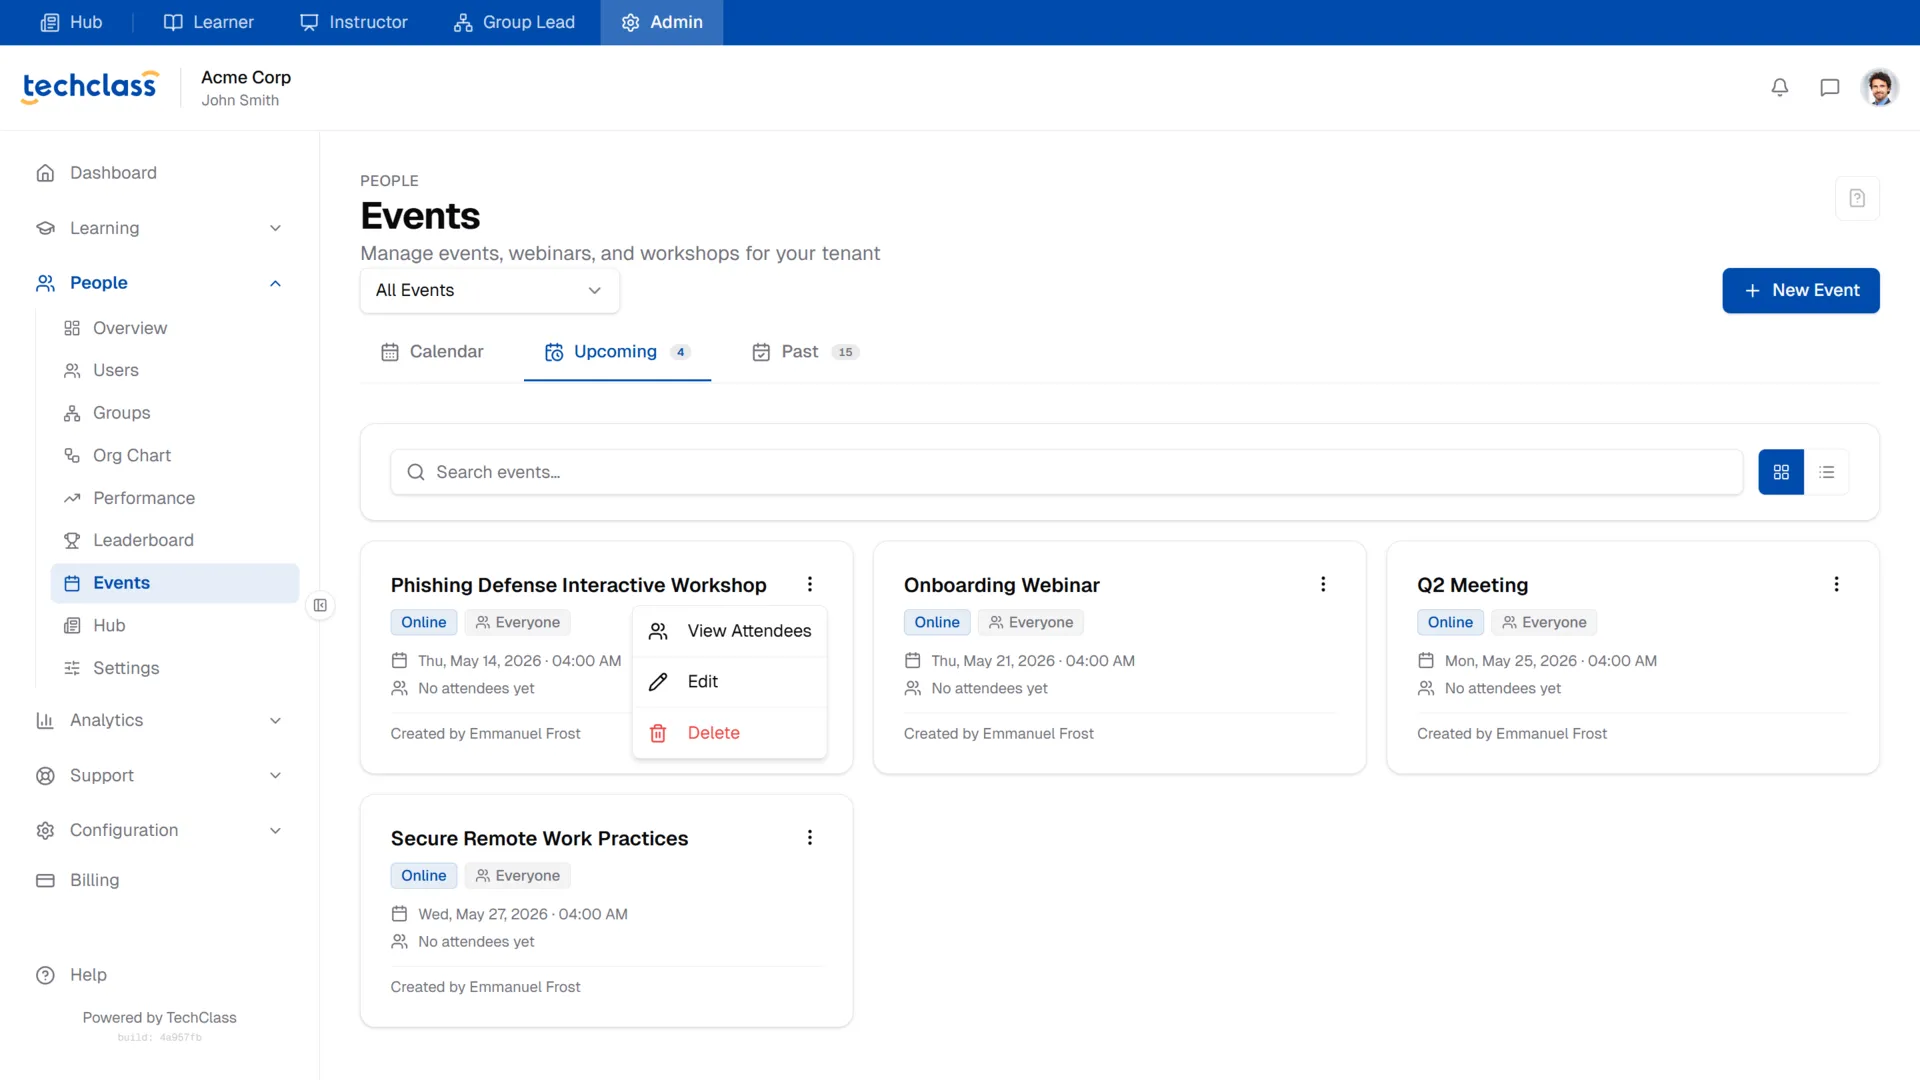
- Navigate to the Upcoming tab.
- Click the three-dot Context Menu (
⋮) on the right side of the specific event card. - Select View Attendees.
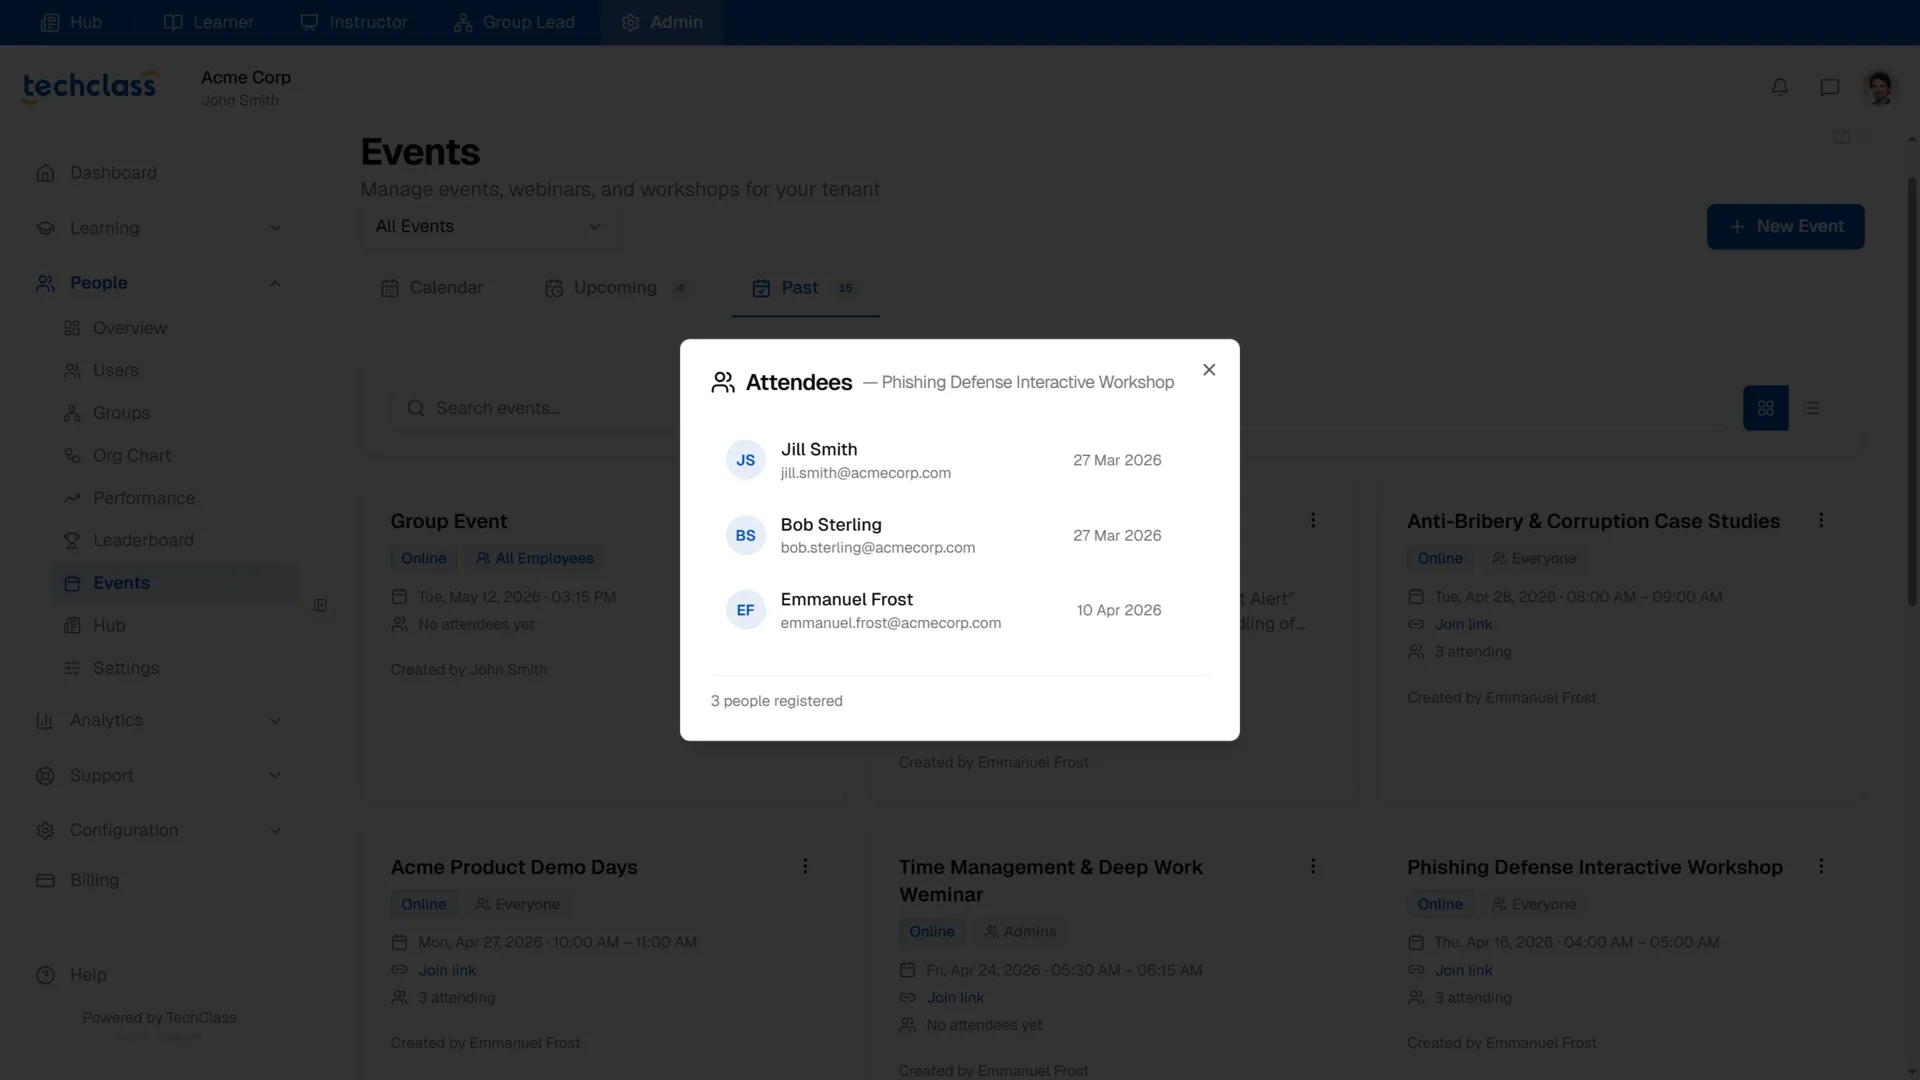
A modal will appear listing all registered users along with the date they signed up. This list is highly useful for instructors who need to prepare a roster or send pre-reading materials to attendees.
4. Editing and Deleting Events
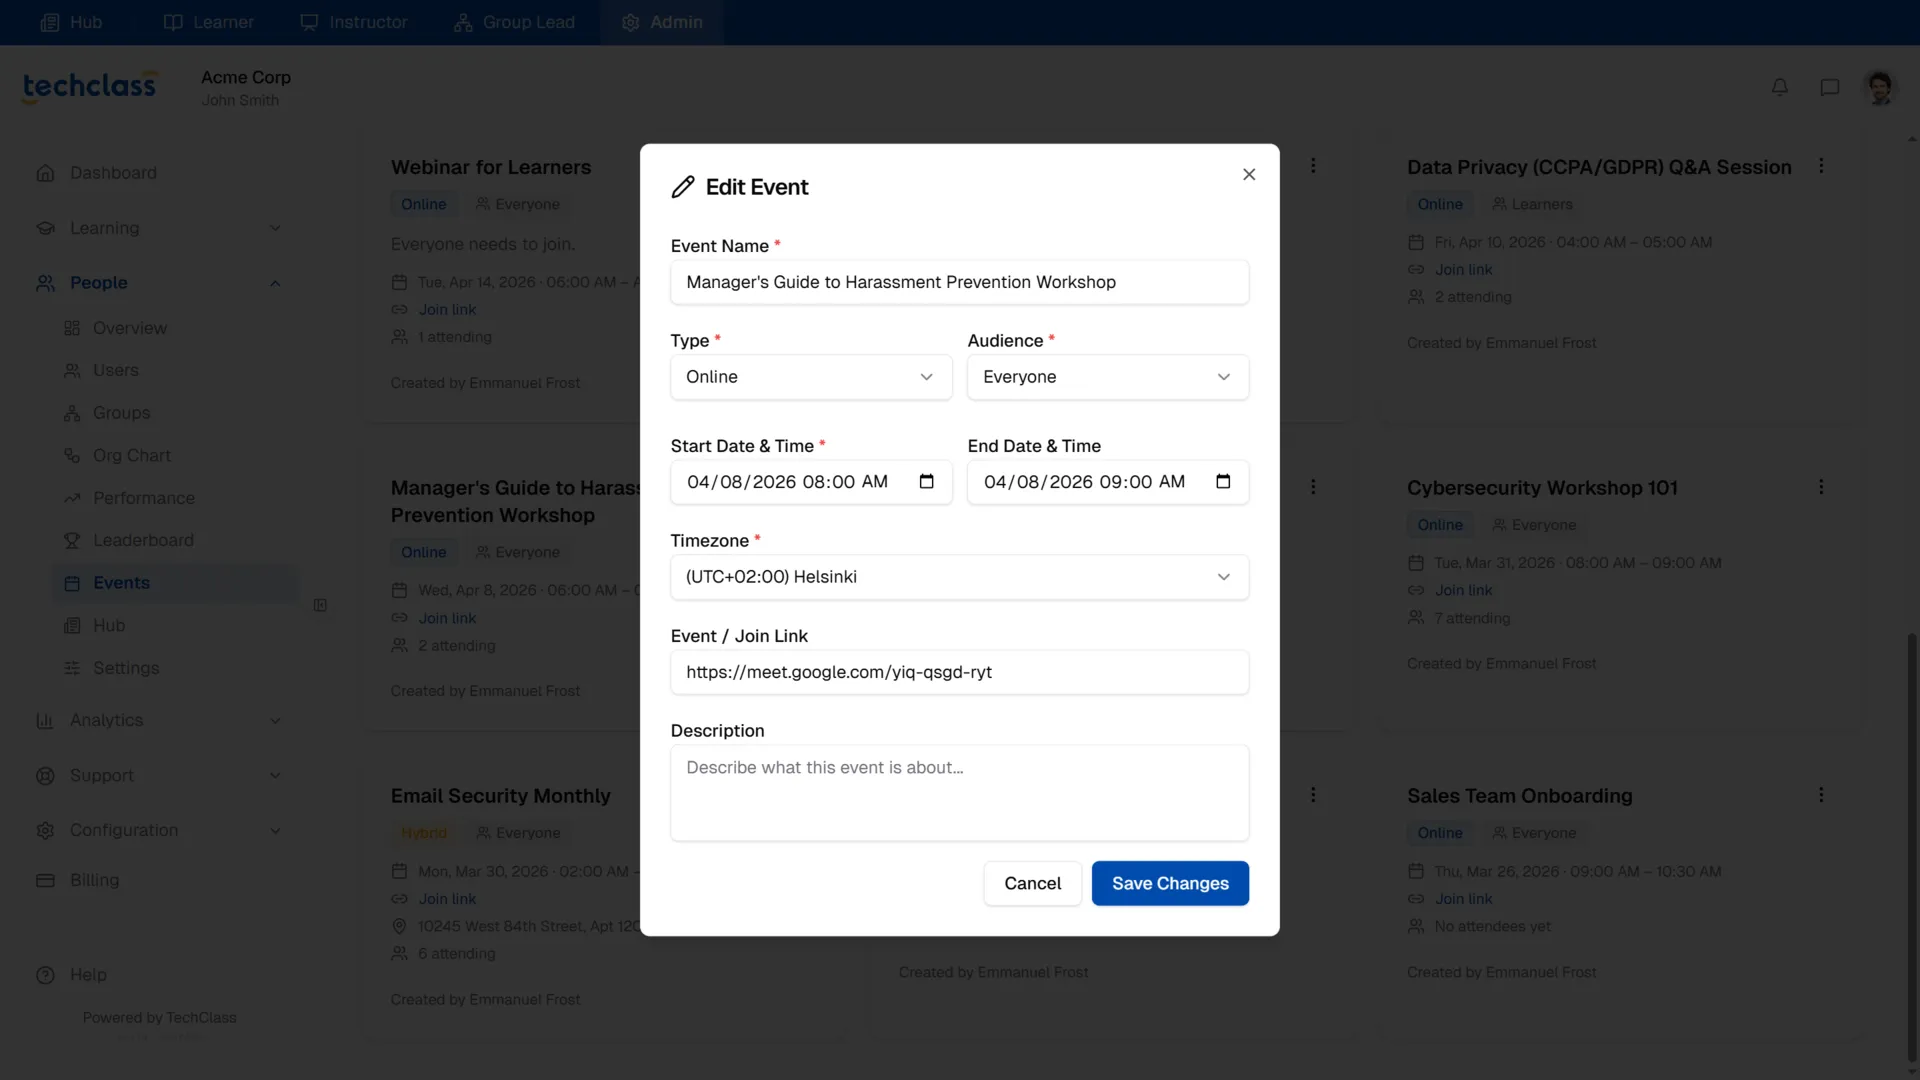
If details change (like a postponed date or an updated Zoom link), you can easily modify an existing event.
Editing an Event
Click the three-dot menu (⋮) on the event card and select Edit. The edit modal will open, allowing you to update any of the original fields. Click Save Changes to immediately update the event for all attendees.
Deleting an Event
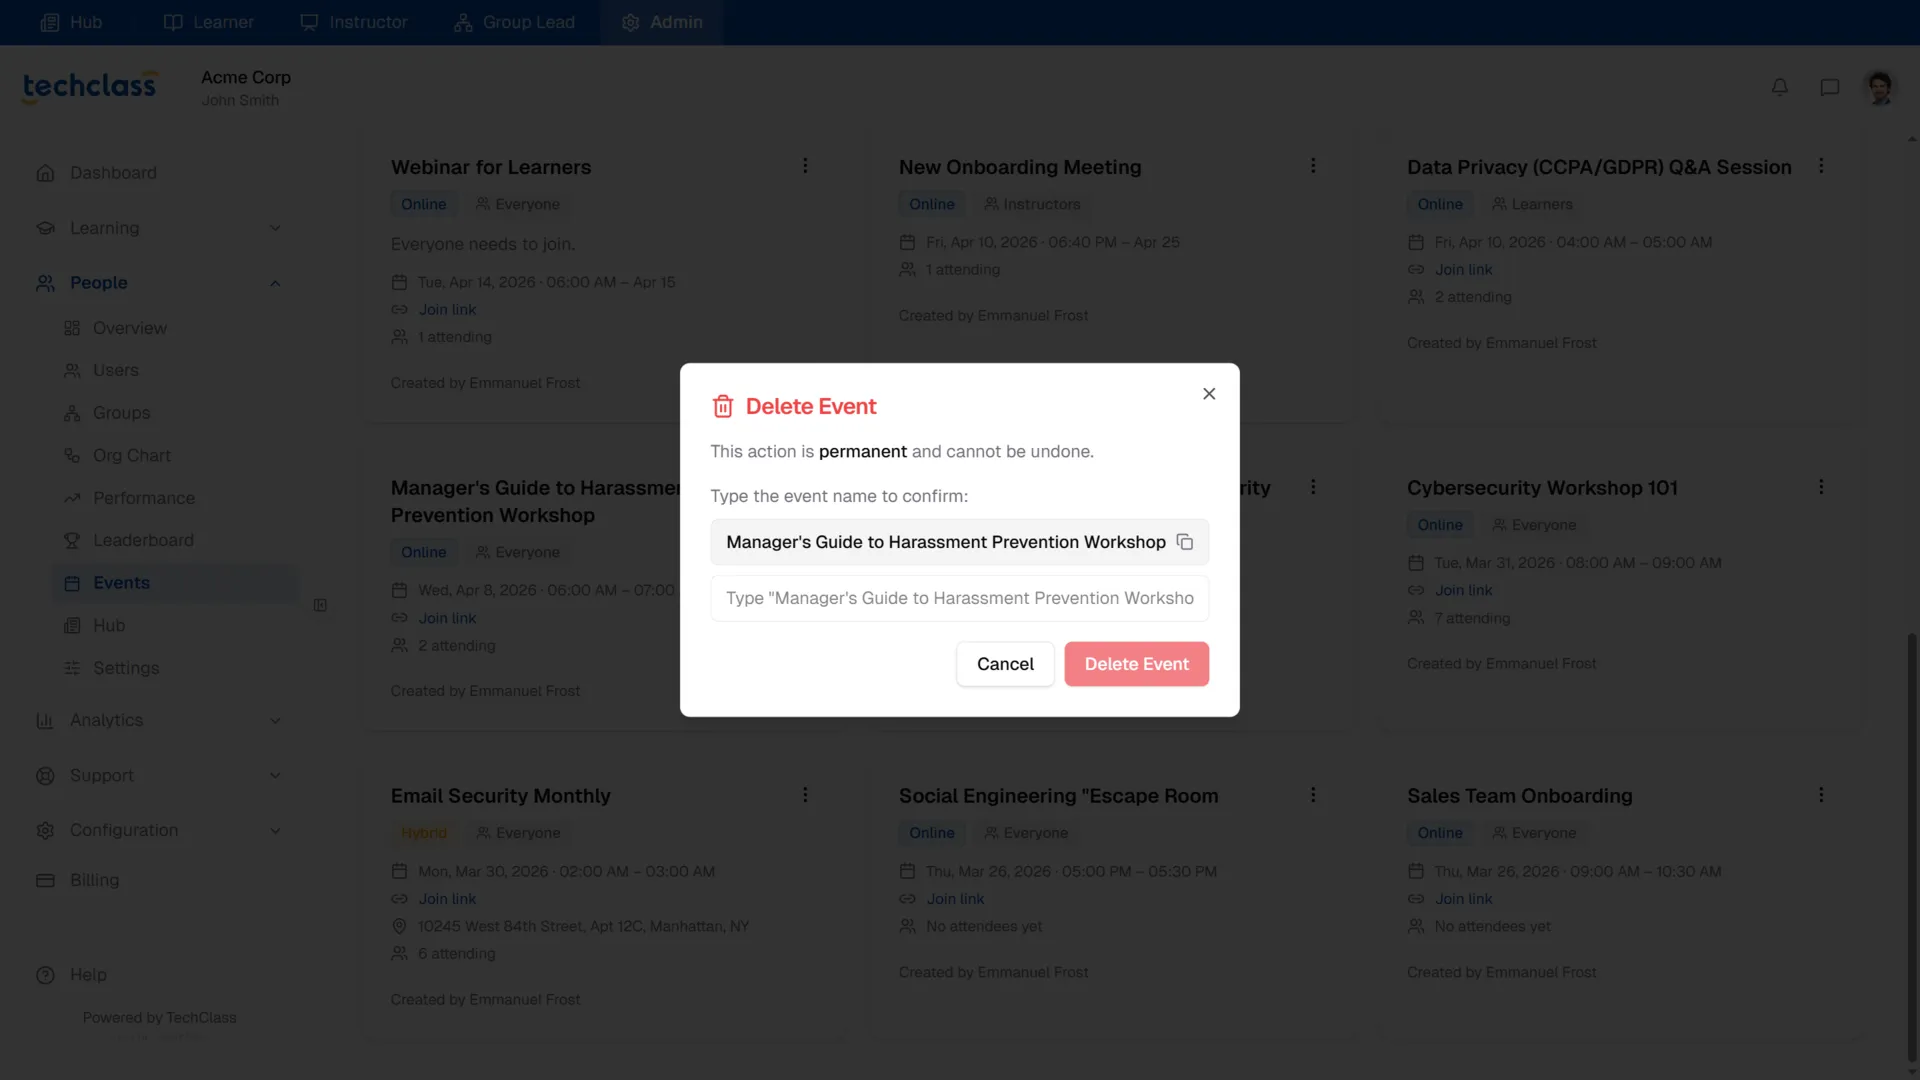
If an event is cancelled entirely, you can remove it from the platform. Click the three-dot menu (⋮) and select Delete.
Permanent Action
Deleting an event is permanent and cannot be undone. All registration data associated with the event will be lost.
To prevent accidental deletions, the system requires you to manually type the exact name of the event into the confirmation box before the red Delete Event button becomes active.